Creating Sections for your Shopify Theme
Sections allow you to add customizable areas to your Shopify theme page templates. You can combine sections to create a unique template for a merchant to use to build their site. There are two types of sections, static and dynamic. Static sections are fixed in their position in the template. Dynamic sections however can be added, removed and re-arranged and are added to the homepage index.liquid where the required {{ content_for_index }} is located.
Static
To include a section in a template use secion followed the the section name.
{% section 'landing-hero' %}Dynamic
Dynamic sections are availeble on the homepage, displayed where content_for_index is located.
{{ content_for_index }}Next we'll set up a new 'landing-hero' section.
Create a section
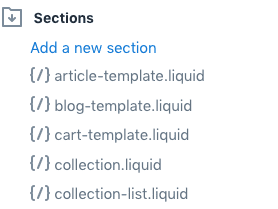
Start by creating a new file in your theme files under the section directory. Name it landing-hero.
In this file we need to add some required schema to describe our section and its settings. CSS and JavaScript specific to the section can be added within their respective wrappers.
{% schema %}
  {
    "name": "Landing hero",
    "class": "landing-hero",
    "settings": [
      {
        "id": "hero-image",
        "type": "image_picker",
        "label": "Hero image"
      },
      {
        "id": "hero-text",
        "type": "text",
        "label": "Hero text"
      }
    ]
  }
{% endschema %}

{% stylesheet %}
.landing-hero {
	min-height: 400px;
	position: relative;
	display: flex;
	justify-content: center;
	align-items: center;
}
.landing-hero__image {
	position: absolute;
	top: 0;
	left: 0;
	width: 100%;
	height: 100%;
}
h1 {
	position: relative;
	z-index: 2;
	text-align: center;
}
{% endstylesheet %}

{% javascript %}
{% endjavascript %}
Next, above the schema, we add the markup for our section. Since we added 'landing-hero` to the class property the wrapping section element will have this class added. We can consider that when adding classes for our markup.
<div class="landing-hero__image" style="background: url('{{ section.settings.hero-image | img_url: "master"}}')"></div>
<h1>{{ section.settings.hero-text }}</h1>
{% schema %}
  {
    "name": "Landing hero",
    ...
Use the section in a template
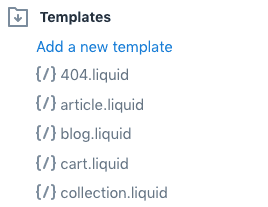
Now that we have a basic section created let's add it to a template and test it out. Create a new file under templates. Select "page" as the type and name it "landing". The new file might contain some default markup. We can add our section with {% section 'landing-hero' %}.
{% section 'landing-hero' %}
<div class="page-width">
  <div class="grid">
    <div class="grid__item medium-up--five-sixths medium-up--push-one-twelfth">
      <div class="section-header text-center">
        <h1>{{ page.title }}</h1>
      </div>

      <div class="rte">
        {{ page.content }}
      </div>
    </div>
  </div>
</div>
Assign the template to a page
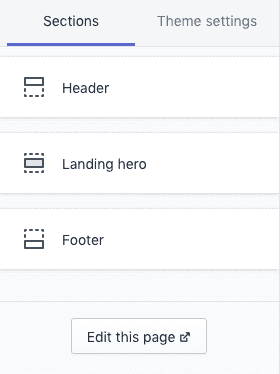
Edit and existing page or create a new one. In the admin for the page click the "template" select input and pick "page.landing" from the list. Navigate back to the theme admin section and go to customize for your theme. Select your page from the drop-down menu at the top of the page preview window. You should see the "Landing hero" section in the left sidebar.
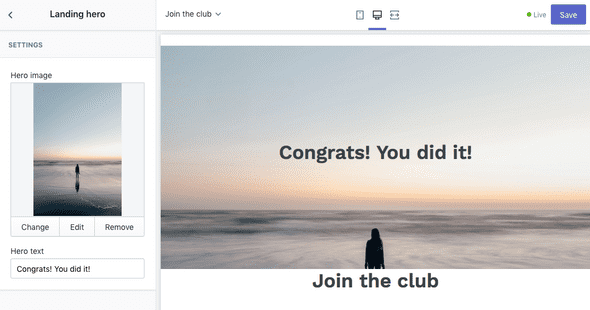
Click on the new section to add an image and text.


